Low Sodium Pie Crust
Create Delicious Low-Sodium Pie Crusts with Ease: A Step-by-Step Guide for Beginners
Discover a simple low sodium pie crust recipe to craft a mouthwatering pie crust that supports your renal health—perfect for those with limited cooking experience. Finding suitable pie crust recipes for individuals with kidney disease can be challenging due to sodium restrictions.
The simplicity of this recipe makes it accessible to both experienced bakers and newcomers. By focusing on basic ingredients, it creates a flaky, buttery crust that accommodates dietary needs while still delivering on texture and flavor. This approach ensures those with kidney disease don't have to sacrifice enjoyment of homemade pies.
As a Registered Dietitian with over 25 years of experience, I have developed kidney-friendly recipes inspired by my parents' struggles with chronic kidney disease. This easy low-sodium pie crust recipe emphasizes the use of unsalted butter and low sodium to maintain flavor while adhering to renal dietary guidelines. My goal is to provide practical, evidence-based advice that allows for the enjoyment of delicious homemade foods while supporting kidney health.
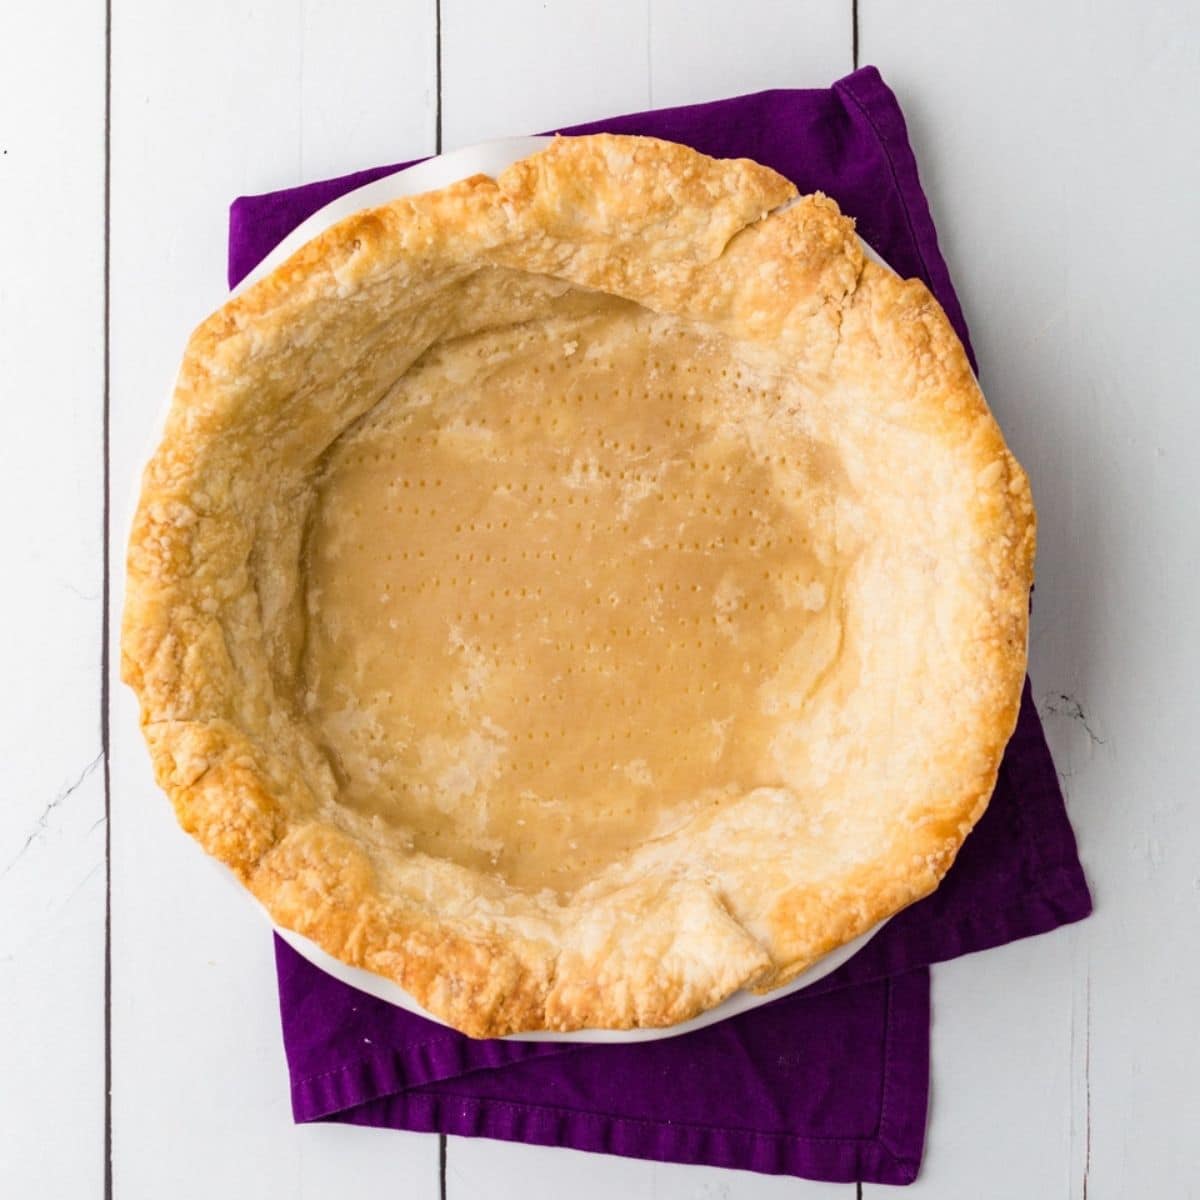
This low-sodium pie crust recipe is ideal for those following a Chronic Kidney Disease diet because it significantly reduces sodium intake without sacrificing flavor. By using unsalted butter and omitting salt, the crust aligns with dietary guidelines that advise limiting sodium to protect kidney function. The simple preparation process ensures that even those with limited cooking experience can enjoy a delicious, kidney-friendly treat.
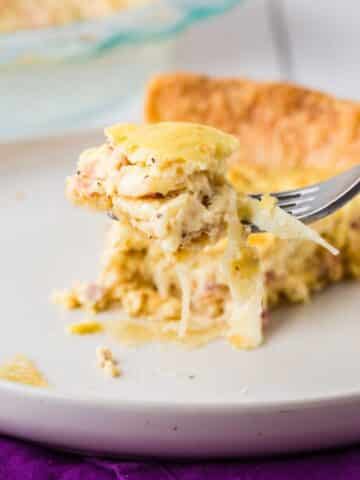
This low sodium healthy pie crust is great as a base for pies and quiches that often require a pie crust but you don't want to use a store bought version because of the salt. We used this in our Carmelized Onion Quiche recipe as a base. You can try our kidney friendly breakfast recipes or our renal diet desserts for more options.
Jump to:
Ingredients in Low Sodium Pie Crust
This simple recipe ensures a flaky texture while keeping sodium content low. The key is to blend the ingredients together to form the perfect crust.
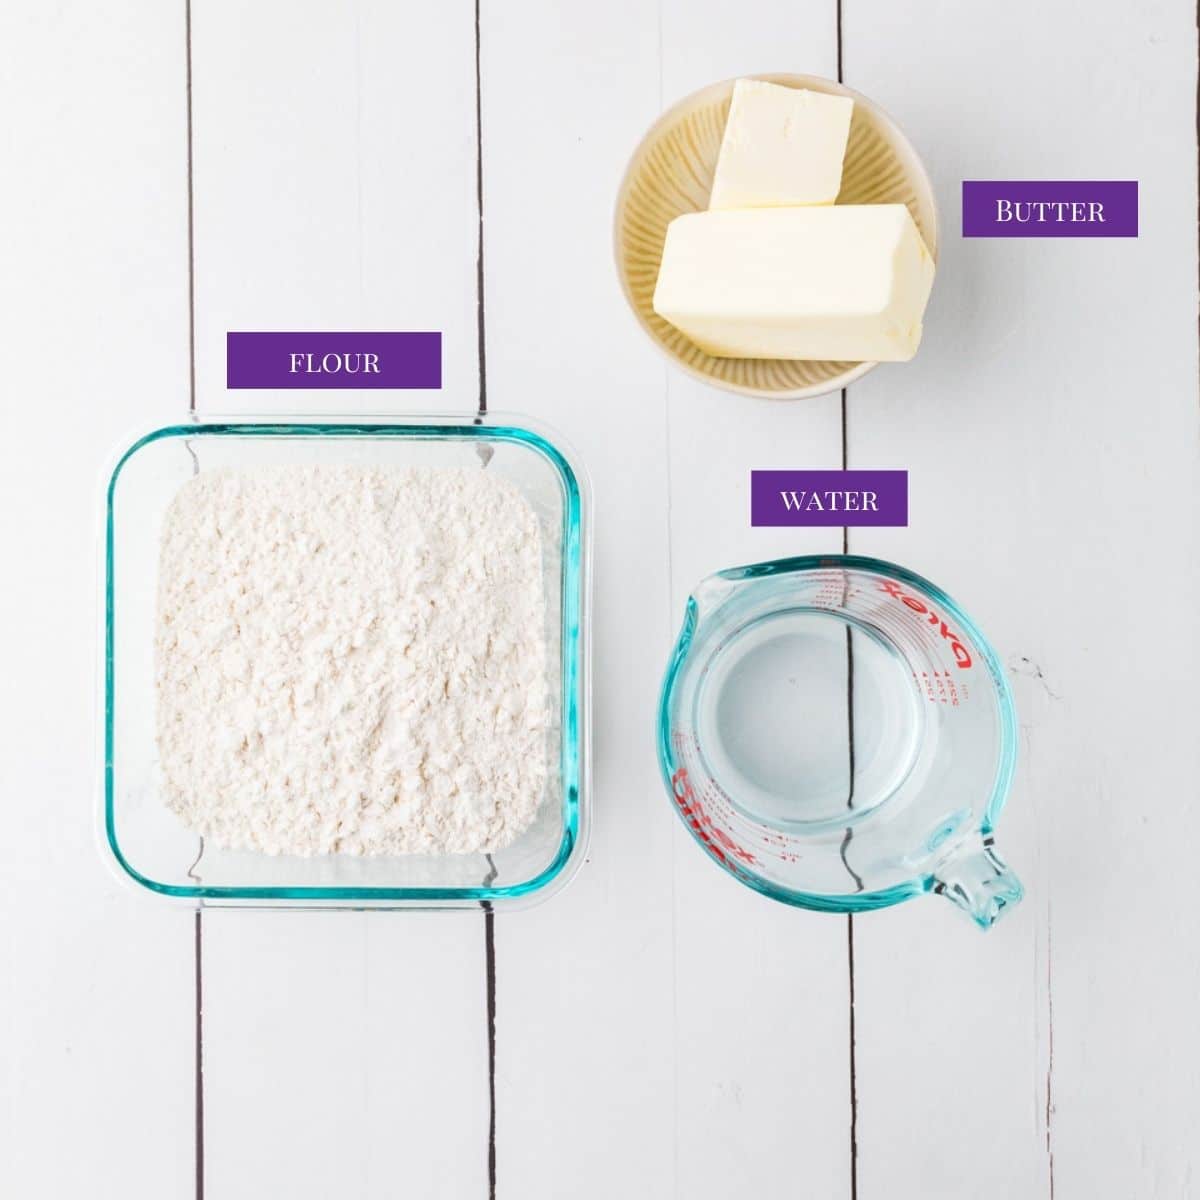
- Flour: This is the foundational ingredient that provides structure to the recipe.
- Unsalted Butter: Frozen butter is used to add richness and create a flaky texture in the final product.
- Cold Water: Cold water helps bring the dough together while keeping it chilled, which is crucial for maintaining the flaky texture.
See recipe card for quantities.
How to Make Sodium Free Pie Crust
Creating a perfect pie crust is easier than you think! With straightforward steps and a bit of patience, you'll have a delicious, homemade crust ready for any filling.
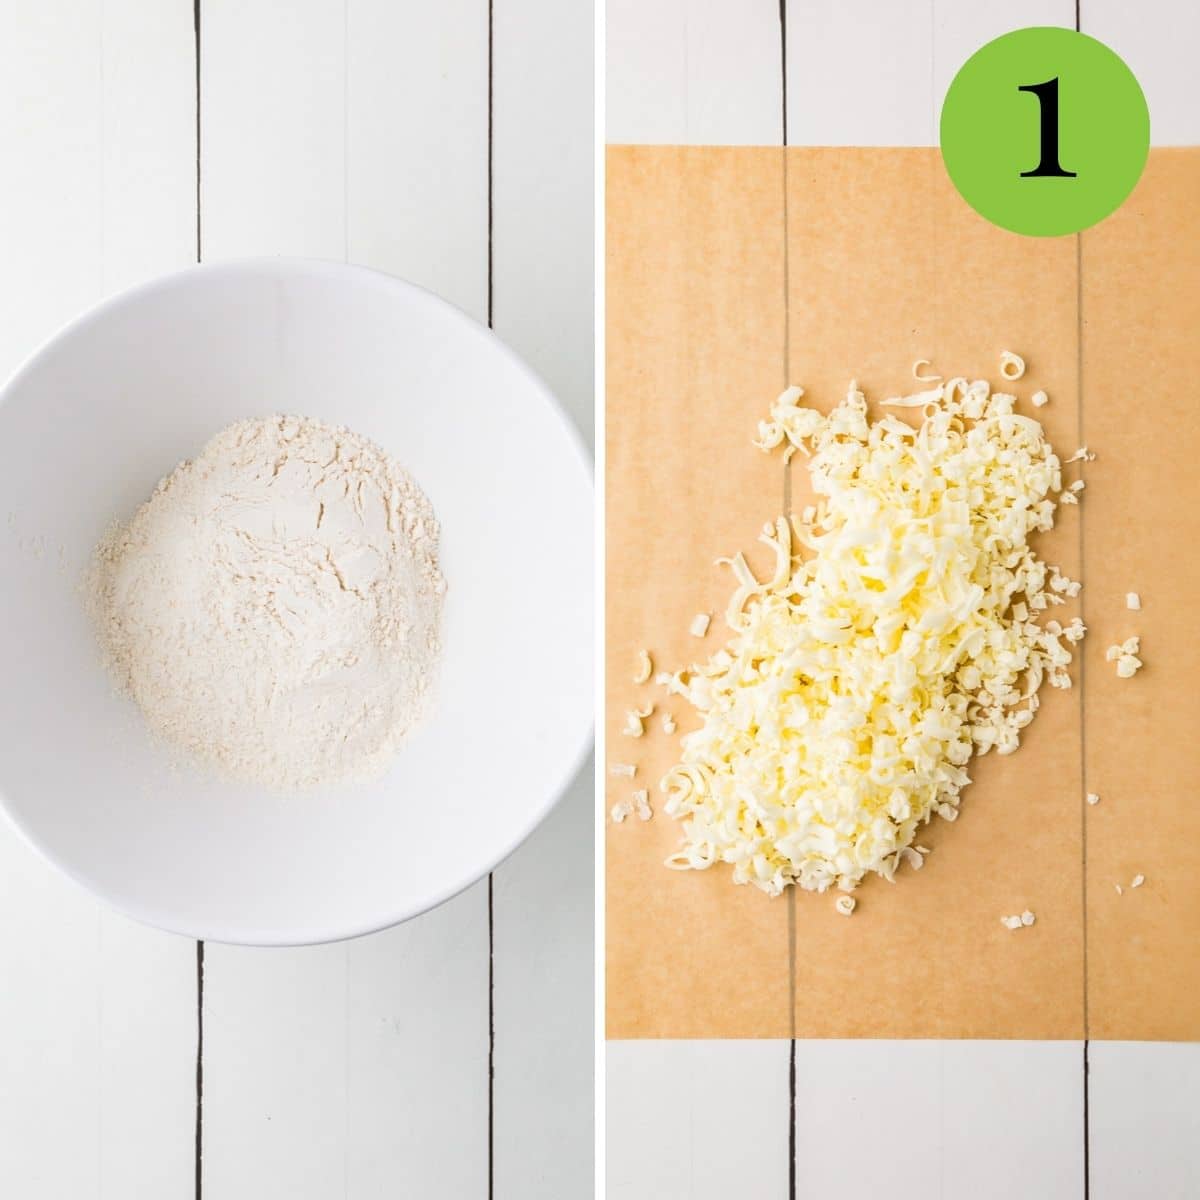
- Measure the flour into a bowl, and put into the freezer until you have finished grating the butter.
- Cut butter into very small pieces, ½ in or less. You can also grate the frozen butter using a box cheese grater until it becomes too small then you can chop it into pieces that are very small from there.
Using a Food Processor
- Add the flour to the bowl of the food processor.
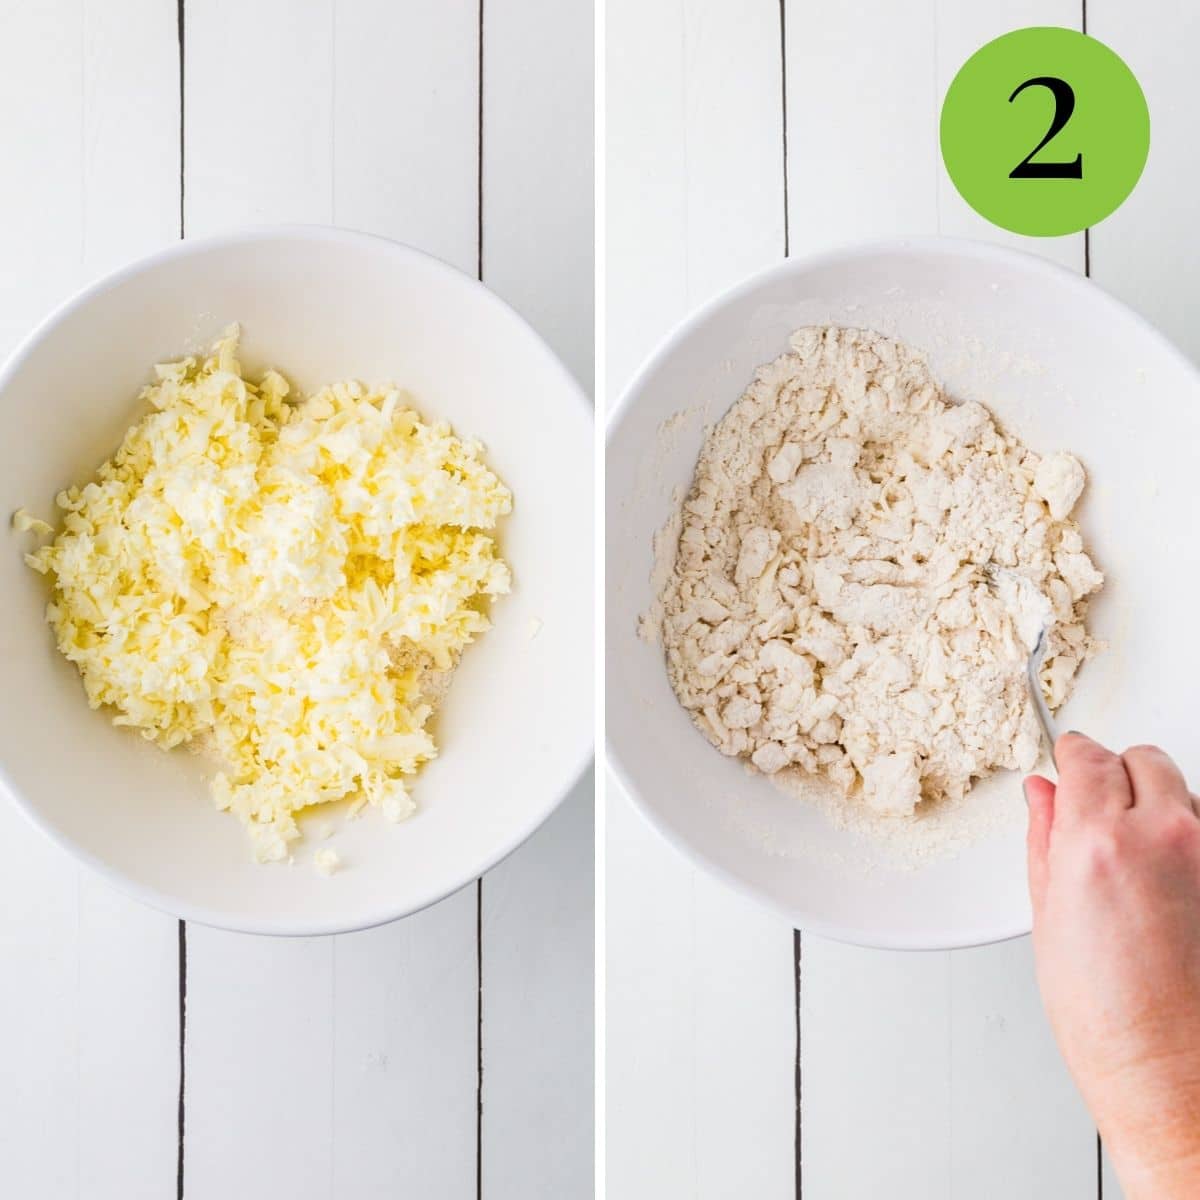
- Add the butter to the food processor and then pulse it until the mixture resembles coarse cornmeal look.
- With the food processor running continuously on low, slowly pour the water into the mixture 1 tablespoon at a time. Do this in about 30 seconds, until the dough holds together when pinched.
By Hand
- Add the butter to the flour, and using a spoon, toss the ingredients together like you would a salad. Work quickly until the butter is completely covered in flour and resembles coarse sand or cornmeal.
- Spoon ¼ cup of very cold water into the flour mixture. Mix quickly with a fork, incorporating the flour gathered at the bottom.
- Continue to add water by the tablespoon, mixing each time, until you can lightly pinch the flour/butter mixture and it holds together
To Prepare The Dough
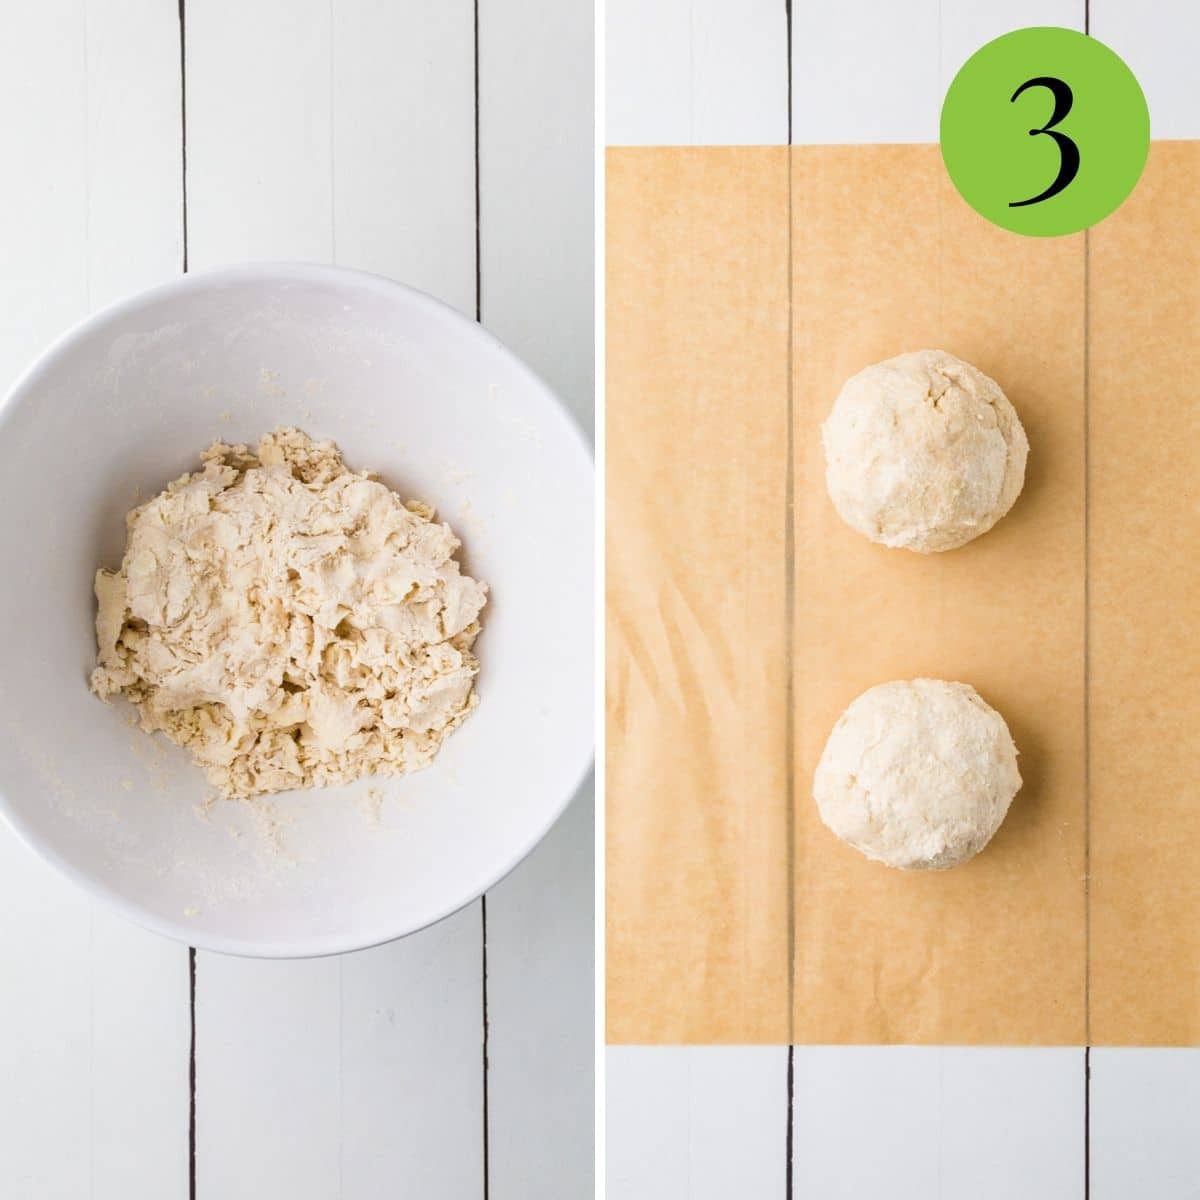
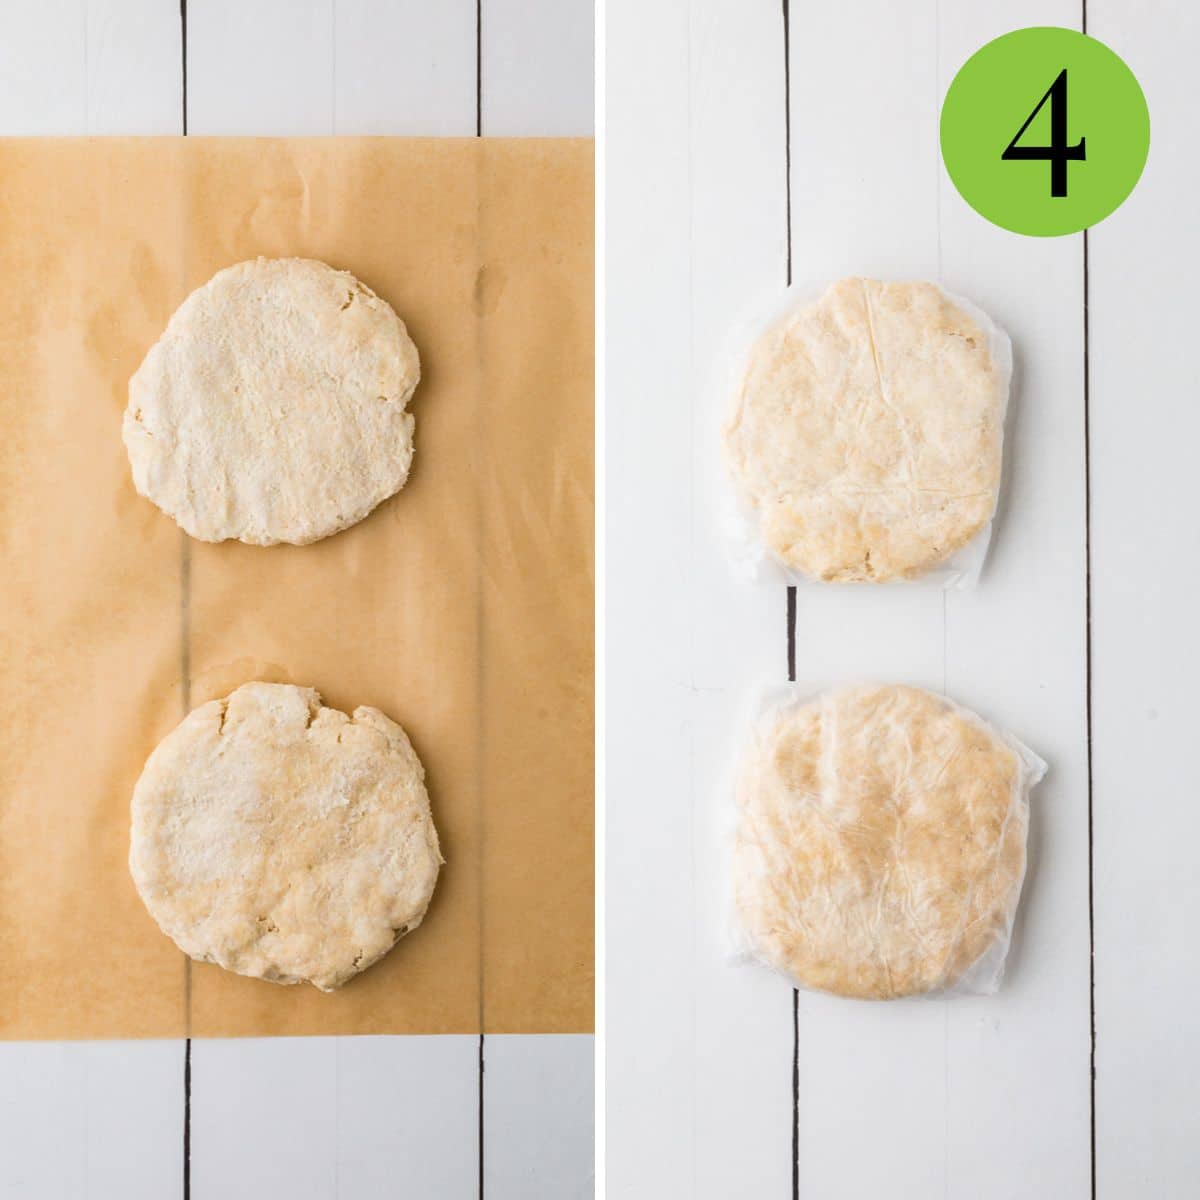
- Once you have the ability to pinch the dough together, use your hands to press the shaggy bits of dough into a ball. Then divide the dough into 2 halves and form each half into a ball.
- Flatten each ball with the palm of your hand into about a 6 inch round, and wrap the discs in plastic wrap and refrigerate for at least 30 minutes.
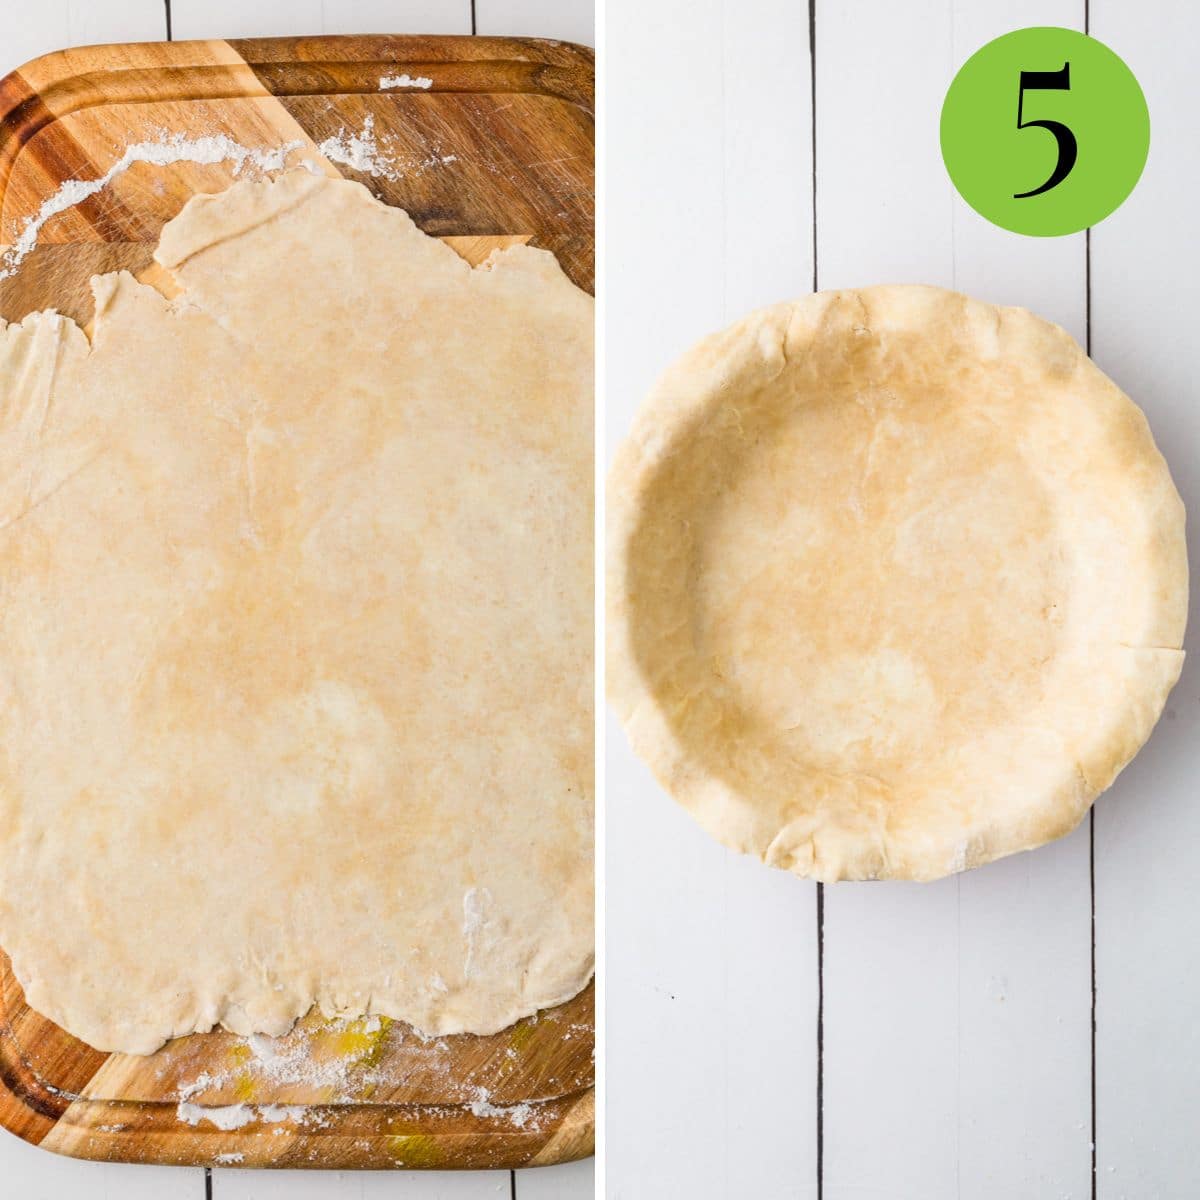
- Remove the dough from the refrigerator. On a lightly floured surface, roll from the center up, down, left and right. Lift the dough once and rotate it about a quarter turn. Roll until the crust is about 14 inches.
- Fold the pie crust in half, and transfer the crust to a pie plate and trim the edges so they are neat. Press along the edges so it sticks the pie pan.
To Pre-Bake The Pie Crust
- Preheat the oven to 400'F.
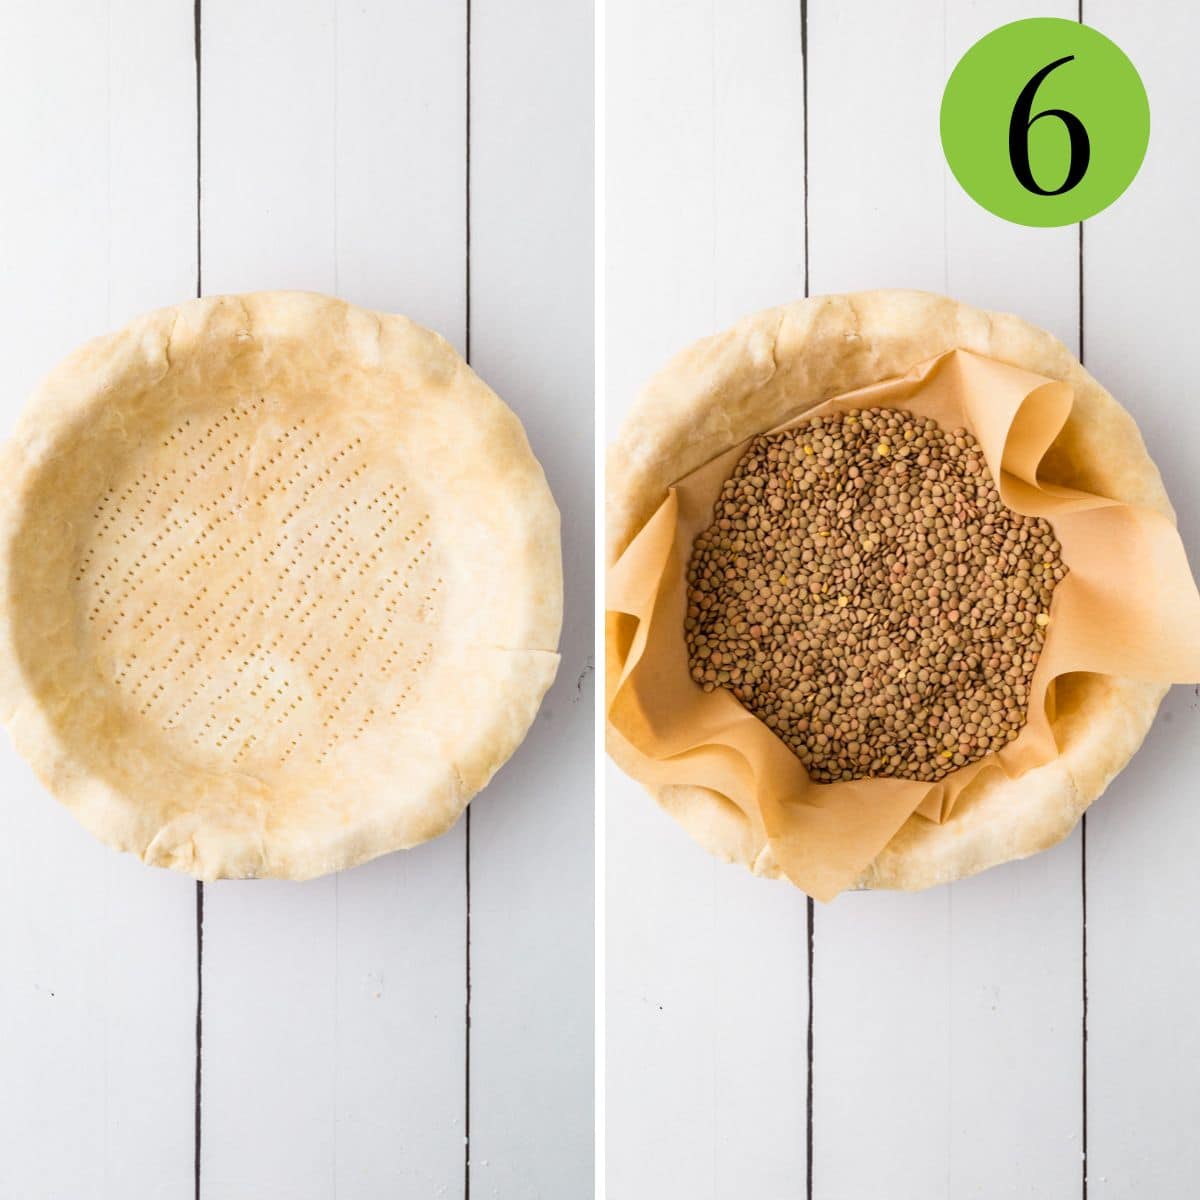
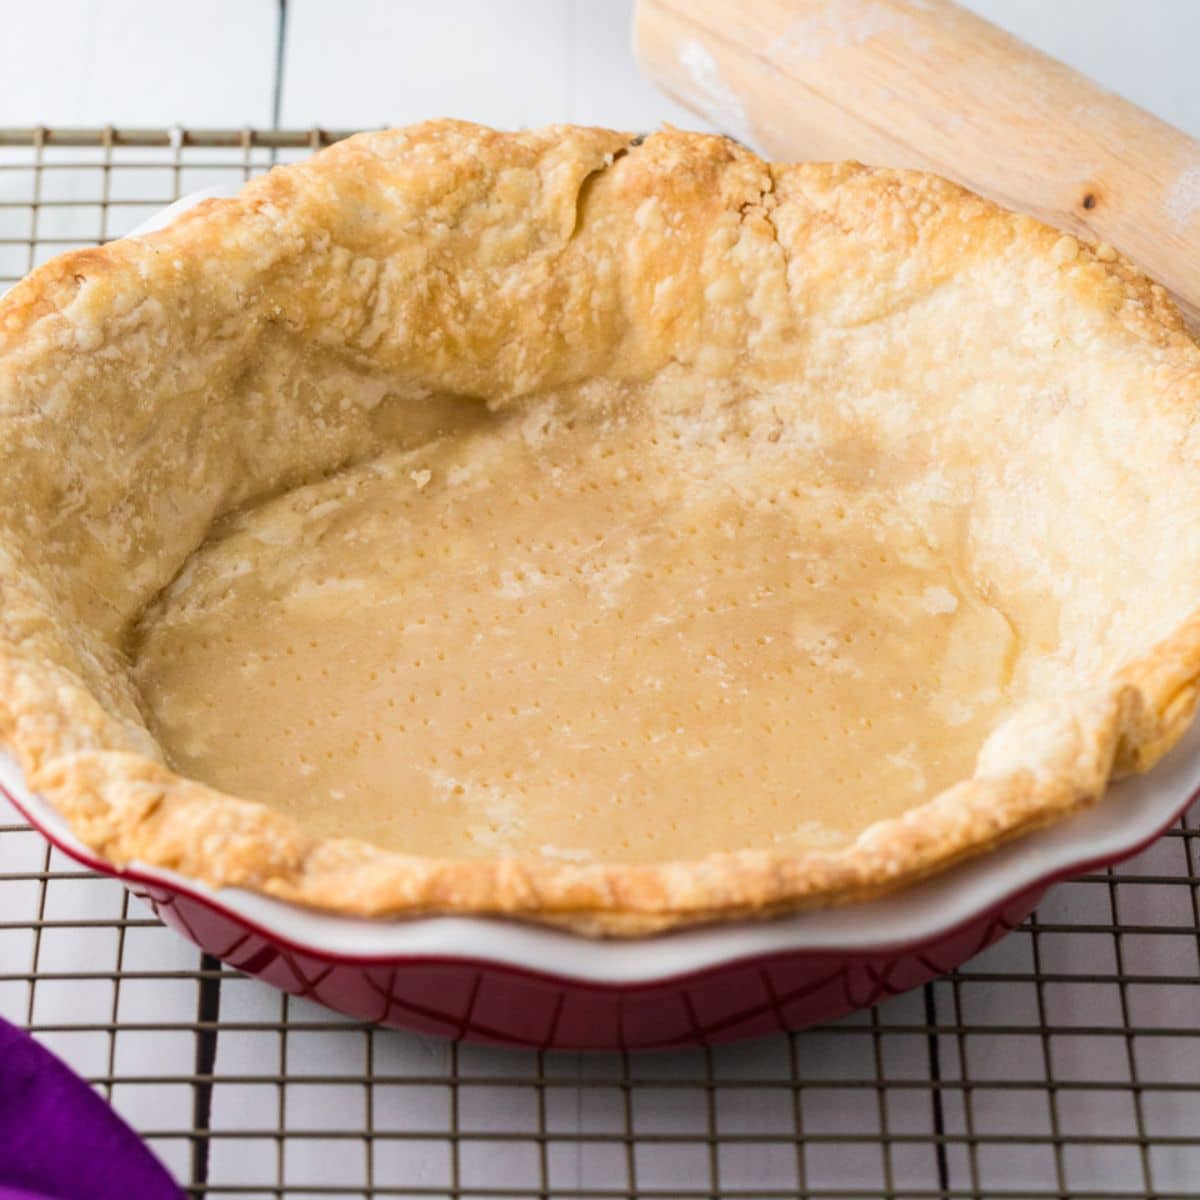
- Poke the bottom of the crust in the pie pan with a fork multiple times. You can also add a piece of parchment paper on the top of the crust and fill with beans or pie weights.
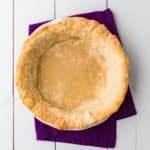
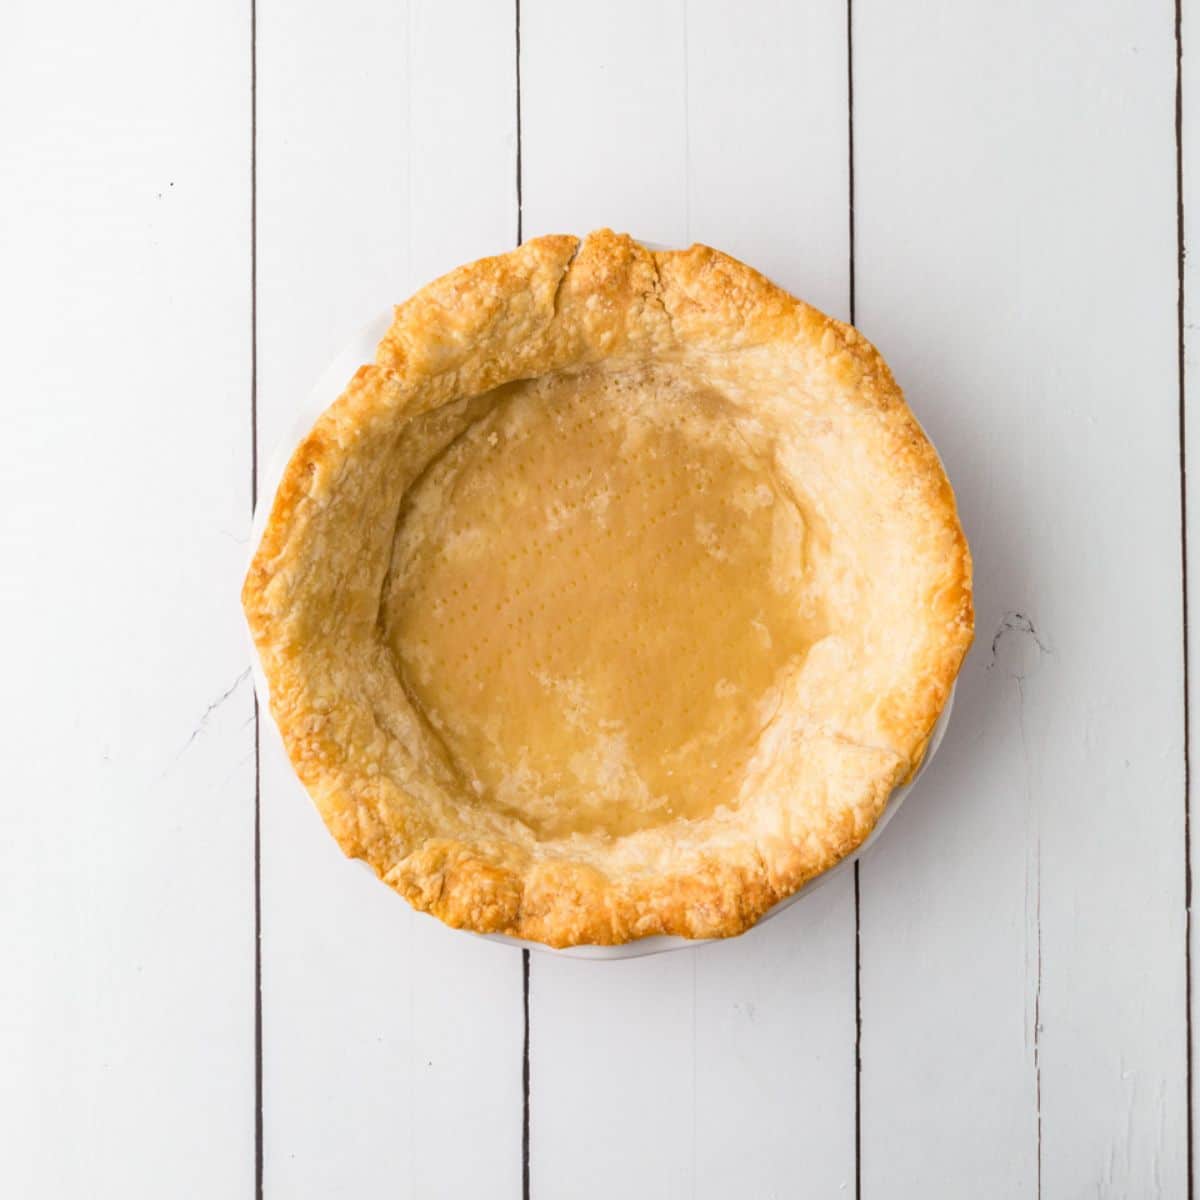
- Bake for 20-25 minutes, unless the recipe calls for additional baking time, then only bake for 10 minutes to avoid over cooking the crust.
- Hint: Rest Time is Key: After forming the dough balls, ensure they rest in the refrigerator for at least 30 minutes. This allows the gluten to relax, making it easier to roll and preventing shrinkage during baking.
Substitutions and Variations For Low Fat Pie Crust
Creating a delicious no salt pie crust while keeping your sodium and fat intake low is entirely possible with a few simple adjustments. This is the best low sodium pie crust and is perfect for anyone striving for a healthier diet without sacrificing flavor. Below are some CKD-friendly substitutions to help you get the most out of this recipe while adhering to dietary guidelines.
- Use Whole Wheat Flour: Swap out all-purpose flour for whole wheat flour. This not only adds fiber but also provides a more complex flavor, making the pie crust a bit heartier and more filling. It's a healthier option for those managing CKD.
- Replace Butter with Unsalted Margarine: If you're looking to cut down on saturated fat, consider using a low-fat unsalted margarine in place of butter. This can help reduce both the fat content and the sodium levels, aligning with CKD dietary needs.
- Add Flaxseed Meal for Extra Nutrients: Incorporate a tablespoon or two of flaxseed meal into the flour mixture. This adds healthy omega-3 fatty acids and fiber, offering additional nutritional benefits while maintaining a light texture in your pie crust.
By incorporating these substitutions, you can enjoy a flavorful, low sodium pie crust that aligns with a kidney-friendly diet.
Storage Tips for Easy Low Sodium Pie Crust
When you're looking for a lower fat pie crust that's both flavorful and versatile, this recipe is a great choice. Not only is it easy to make, but it's also perfect for those needing to reduce salt and fat in their diet. Below, we'll focus on how to store this dough so you can enjoy it fresh whenever the craving strikes.
- Refrigeration Tips: After preparing the dough, divide it into two halves, shape them into discs, and wrap each one in plastic wrap. You can store these wrapped dough discs in the refrigerator for up to 3 days. When you're ready to bake, simply remove the dough from the fridge and let it sit at room temperature for a few minutes to make it easier to roll out.
- Freezing Guidance: To store the dough for a longer period, wrap the discs well to ensure they’re airtight, and place them in the freezer. They can be stored this way for up to 3 months. When you're ready to use the frozen dough, move it to the refrigerator to thaw overnight. This gradual thawing process helps maintain the texture and flavor of the crust.
Storing your easy low-sodium pie crust properly ensures that it's as delicious later as it is fresh, ready to complement any filling of your choice.
Top Tip
- Butter Handling: If grating the butter becomes cumbersome, consider slicing it into small cubes and freezing them. This can make incorporation into the flour easier and maintain the desired cold temperature.
FAQ's for Low Sodium Pie Crust
This pie crust recipe is considered low sodium because it uses unsalted butter and does not include any added salt in the ingredients list. By omitting the salt, you're able to enjoy a flavorful pie crust without the additional sodium content.
The key is to mix the butter and flour until they resemble coarse sand or cornmeal. Then, add water gradually, mixing each time, until the dough can be pinched and holds together. The water should be added by the tablespoon to avoid over-hydrating the dough.
Pre-baking the pie crust, also known as blind baking, depends on your pie recipe. If the recipe calls for additional baking time, you may only need to pre-bake the crust for 10 minutes to prevent overcooking. For other recipes, a full 20-25 minutes at 400°F might be necessary.
Related Desserts for Chronic Kidney Disease
Looking for other recipes like this? Try these:
Pairing with Appetizers
These are my favorite dishes to serve with this reduced fat pie crust:
If you tried this Recipe or any other recipe on my website, please please leave a star rating and let me know how it goes in the comments below. I love hearing from you!
Recipe
Low Sodium Pie Crust Recipe
Equipment
Ingredients
- 2 cups flour
- ¾ cup unsalted butter frozen
- ½ cup cold water
Instructions
- Measure the flour into a bowl, and put into the freezer until you have finished grating the butter.
- Cut butter into very small pieces, ½ in or less. You can also grate the frozen butter using a box cheese grater until it becomes too small then you can chop it into pieces that are very small from there.
Using a Food Processor
- Add the flour to the bowl of the food processor.
- Add the butter to the food processor and then pulse it until the mixture resembles coarse cornmeal look.
- With the food processor running continuously on low, slowly pour the water into the mixture 1 tablespoon at a time. Do this in about 30 seconds, until the dough holds together when pinched.
By Hand
- Add the butter to the flour, and using a spoon, toss the ingredients together like you would a salad. Work quickly until the butter is completely covered in flour and resembles coarse sand or cornmeal.
- Spoon ¼ cup of very cold water into the flour mixture. Mix quickly with a fork, incorporating the flour gathered at the bottom.
- Continue to add water by the tablespoon, mixing each time, until you can lightly pinch the flour/butter mixture and it holds together.
To Prepare The Dough
- Once you have the ability to pinch the dough together, use your hands to press the shaggy bits of dough into a ball. Then divide the dough into 2 halves and form each half into a ball.
- Flatten each ball with the palm of your hand into about a 6 inch round, and wrap the discs in plastic wrap and refrigerate for at least 30 minutes.
- Remove the dough from the refrigerator. On a lightly floured surface, roll from the center up, down, left and right. Lift the dough once and rotate it about a quarter turn. Roll until the crust is about 14 inches.
- Fold the pie crust in half, and transfer the crust to a pie plate and trim the edges so they are neat. Press along the edges so it sticks the pie pan.
To Pre-Bake The Pie Crust
- Preheat the oven to 400'F.
- Poke the bottom of the crust in the pie pan with a fork multiple times. You can also add a piece of parchment paper on the top of the crust and fill with beans or pie weights.
- Bake for 20-25 minutes, unless the recipe calls for additional baking time, then only bake for 10 minutes to avoid over cooking the crust.


